




Build your Channels NOW!
for any person, place, or thing!
Each Channel you create is yours—the sole owner, with powerful options to monetize, go live, host pay-per-view events, and unlock a suite of advanced features. Enjoy AI Chatbot integration, crypto payments with $MCC, and seamless access to a cutting-edge Blockchain Technology Gateway Platform. Start building and owning your digital presence today!There are several ways to build Channels… use AI or Manually. Only one (1) Channel per Person, Place or Thing. NO DUPLICATES!.
AI Auto Channel Builder is for things like celebrities, national chains, animals, politicians, (news worthy channels)… Others will not be approved.
AI Auto Channel Builder
Channels.biz Agent Line Builder
Sign in to your Channels.biz account to start building your Agent. You can begin right away — Affiliate and Vendor accounts are only needed later, before your Agent goes live.
Agent Line Access Requirements
Channels.biz AccountSign in to your Channels.biz account.Affiliate AccountAn active Affiliate Account is required.Vendor AccountA Channels.biz Vendor Account is required.[auto_channel_generator]
[preview_channel]
AI Channel Builder is for local businesses, entrepreneurs, community organizations, ect…(information can be found online)
AI Channel Builder
Generate Business Info with AI
Fill in the information, generate AI prompt, copy and paste to any AI LLM model, (we recommend co-pilot for best search results) copy and paste results below (we recommend asking for HTML code then pasting it in the code editor)… Fill in the text boxes add location and images hit submit.
Manual+AI Builder is for any Person, Place or Thing (add information in manually and use AI)
Manual+AI Builder
Please log in to submit content!
If you are building a B.O.T. Agent… After you complete this information, we will build your agent within 24 – 48 hours
Image Generator
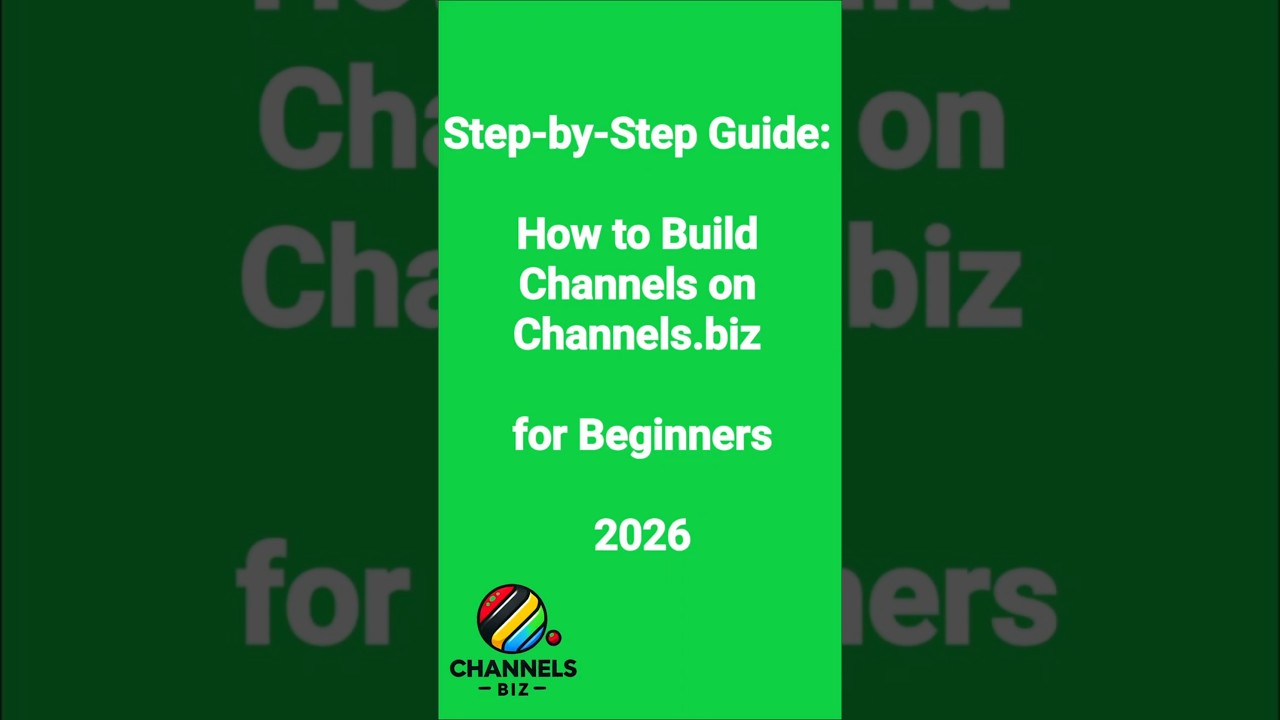
Step-by-Step Guide: How to Build Channels on Channels.biz for Beginners
Here’s a clear, beginner-friendly walkthrough to create your first channel on Channels.biz — from start to finish:
Step 1 — Create & Verify Your Account
- Go to Channels.biz and click Sign Up / Register.
- Enter your email, username, and password.
- Check your email and click the verification link (this confirms your account).
✔️ Tip: Use a valid email — you’ll need it for payments and support.
Step 2 — Log In & Access Your Dashboard
- Return to Channels.biz and Log In.
- You’ll land on your Creator Dashboard — this is where you manage your channels.
Step 3 — Start Building Your Channel
- In the dashboard, look for “Create New Channel” or “Add Channel.”
- Choose your channel type:
- Business
- Personal brand
- Entertainment
- Education
- Podcast / Audio
- Services & Jobs
- Marketplace or shop
(Select the one that matches your purpose!)
Step 4 — Channel Name & Category
- Enter a channel name — this is your brand (e.g., TechTalk with Alex).
- Pick the best category so people can find you.
- Add 2–5 tags/keywords so your channel appears in searches.
Step 5 — Upload Visuals (Logo & Banner)
- Upload a channel logo — this is your profile avatar.
- Add a banner image — a large graphic that sits atop your channel page.
- Recommended sizes:
- Logo: 500×500 px
- Banner: 1200×300 px
- Recommended sizes:
🖼️ Tip: Use tools like Canva or Photopea for free visuals.
Step 6 — Write Your Channel Bio
- In the description box, tell people what your channel is about.
- Short, clear, and engaging.
- Include what value you bring.
- Add links to your website, social media, or portfolio.
Step 7 — Set Your Monetization
Channels.biz supports multiple ways to earn: ✔ Subscriptions
✔ Paid content (courses, videos, etc.)
✔ Paid live events & VIP access
✔ Advertisements
✔ Product sales
- Open Monetization Settings.
- Turn on the options you want.
- Set your prices (e.g., $10/month subscription).
Step 8 — Add Your First Content
Depending on your channel type: 📌 Videos: Upload recorded videos or schedule live streams.
📌 Audio/Podcasts: Upload MP3 or record live.
📌 Blog / Articles: Publish written posts (text + images).
📌 Services: List services you offer with prices.
📌 Products: Add products if you’re selling items.
Fill out:
- Title
- Description
- Tags
- Price (if paid)
Step 9 — Customize Your Channel Layout
- Rearrange sections:
- Featured content
- Latest videos
- About section
- Services / Shop
- Make your page look inviting and easy to navigate.
Step 10 — Go Live / Schedule Content
- If you want live streaming:
- Click Go Live.
- Test audio/video first.
- Set your live event title & time.
- For scheduled posts:
- Choose Publish Date/Time.
- Add reminders if needed.
Step 11 — Promote Your Channel
Share your channel link: 🔥 On social media (TikTok, IG, YouTube, Facebook)
🔥 In your email signature
🔥 In groups and forums
People can subscribe or follow your updates.
Step 12 — Engage Your Audience
✔ Respond to comments
✔ Host live Q&A sessions
✔ Run challenges or giveaways
✔ Feature community contributions
Engagement boosts growth and income.
Step 13 — Track Your Analytics
Go to Analytics/Insights in your dashboard: 📈 Views
👤 Subscribers
💰 Earnings
📊 Engagement
Use these metrics to improve your content and strategy.
Step 14 — Optimize & Scale
As you grow: ✔ Add more channels (each with a niche)
✔ Collaborate with others
✔ Introduce premium services
✔ Offer member perks
Growth = more visibility & revenue.
Quick Checklist
✅ Account created & verified
✅ Channel set up
✅ Bio + visuals uploaded
✅ Monetization enabled
✅ Content published
✅ Promotion started
✅ Audience engagement ongoing

ENTERTAINMENT CHANNEL
Live Entertainment content
ADD CHANNELS TO YOUR HOME SCREEN
ENTERTAINMENT CHANNEL




Related Channels:
 Agent Network Dashboard
  HOME
HOME  Animals Agent Network
  Fashion Agent Network
  Adult (Only) Agent Network
  Comprehensive Explanation Agent Network How To
  100 Hot My City Channels Business Topics
  Arts, Crafts & DIY Network
  Talent Agent Network
  Membership
  B.O.T. Dashboard
  Halloween Agent Network | Spooky Fun, Serious Profit Test Channel (ADMIN)
  Channels for Charity Admin Test 1
  HIVoices Holy Inspiration Voices (Gospel Choir)
  Beauty I Am Inc. | Healing from the Inside Out
  My City Channels Black Market Milwaukee Black Market Milwaukee (seasonal)
  Christmas Agent Network (reg)
  DJ Console
  About
About  Channels.biz Business Revenue Simulator
  MEMORIAL CENTER HUB Channels.biz Agent Line – Updated Commission Structure
  Black Wealth Blueprint 2027
  Black Market Milwaukee Business Hub
  Ride for Peace 2026 | Stop the Violence | Milwaukee
  Auto Agent Network
  DuuBer App
  Toyz N’ Da Hood ’26 | Milwaukee, WI (line)
  Family Agent Network
  Milwaukee Halloween Agent Line (reg)
 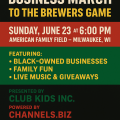 100 Black Business March to the Milwaukee Brewers Game Memorial FAQ
 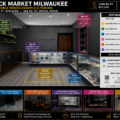 Black Market Milwaukee Business Hub
  Welcome to the Global Competition Channel — Powered by Channels.biz! Travel Agent Network
  Law Agent Network
  Valentine Agent Network
  What is Channels.biz and how to get started?
  Black Wealth Blueprint Agent Network Builder (simulator)
  Rappers
  Money Agent Network Entertainment Performers – Unique Reselling Opportunities
  Entertainment Agent Network
 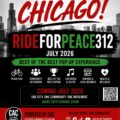 CHICAGO — YOU’RE UP NEXT | RideForPeace312 · Best of the Best Pop-Up
  Business Agent Network
  Food Agent Network
  Milwaukee AI Business Summit – June 2026
  Urban Business Showcase | 100 Neighborhood Business Ideas
  Find the Turtle 🐢 Las Vegas (Game)
  Teen Agent Network
  Senior’s Agent Network
  Christmas N’ Da Hood Toy Giveaway MKE (line/event)
  TechFest 26 Global Food Network | Channels.biz — Feed the World One Channel at a Time MyCityChannels Agent Network
  CAMPAIGN NAME:”Be the Face of Las Vegas – Limited Sponsorship Offer!”
 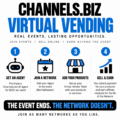 Virtual Vendor
  The Future of Jobs: Human AI Agent Managers | Channels.biz Capricorn Black Wealth Blueprint Agent Income Projection Simulator
  Cornrows
  The Hustle Playbook
  Black Only Agent Network by
  The Creator Vault Channels
  Best of the Best of My City | Pull-Up Pop-Up Tour LGBT+Q Agent Network
  AI AUTO B.O.T. Avatar Generator
  Inventions Agent Network
  Jobs Agent Network
  Motorcycle Channel — Agent Network on Channels.biz
  AI Auto Channel Generator Create a WordPress WPForms registration form titled:
  CAC Sponsor Sign up FAQ
  News Feed Channel
 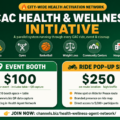 CAC Health & Wellness Initiative Christmas N’ Da Hood Toy Giveaway Las Vegas (line/event)
  The Culture Academy
  The Culture Cookbook Halloween Agent Network AI Powered Obituary Generator (simulator)
  Channels.biz — AI for Security | Protect What’s Yours. Channels.biz
  Nonprofit Agent Network
 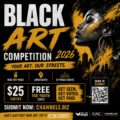 CAC Black Art Competition 2026
  CAC Community Center | City Activation Platform | Multi-City Mobile Template
  Box Braids
 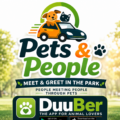 🐾 Pets & People
  Create Your Own Cake | You Choose. We Bake. You Enjoy.
 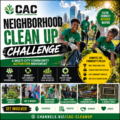 CAC Neighborhood Clean Up Challenge
 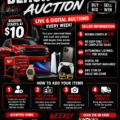 Milwaukee Black Market Auction – Special July 11th Event BWB2025 Gospel Church Agent Line – Community Monetization Model Example
  Education Agent Network
 Gemini Agent Network
  Marijuana Agent Network
  $199 WordPress Site Builder Checklist Black Wealth Blueprint | Rules, Onboarding & FAQ